Scratched Cross: How to Polish Silver Back to a Mirror Shine
TL;DR – Sterling silver is a soft metal, so daily wear leaves hairline scratches that turn a bright finish hazy long before tarnish appears. A dry silver polishing cloth fixes light scuffs, a low-abrasive polishing paste fixes the next level down, and toothpaste, baking soda paste and paper towels only add damage. Always polish in straight lines, stop as soon as the shine comes back, and store each cross in its own pouch so the surface stays cleaner for longer.
You take off your cross at night, hold it up to the lamp, and there it is: a film of tiny lines that were not there a month ago. Nothing is broken. Nothing has gone black. It simply looks tired, and no amount of rubbing it on your sleeve brings the shine back.
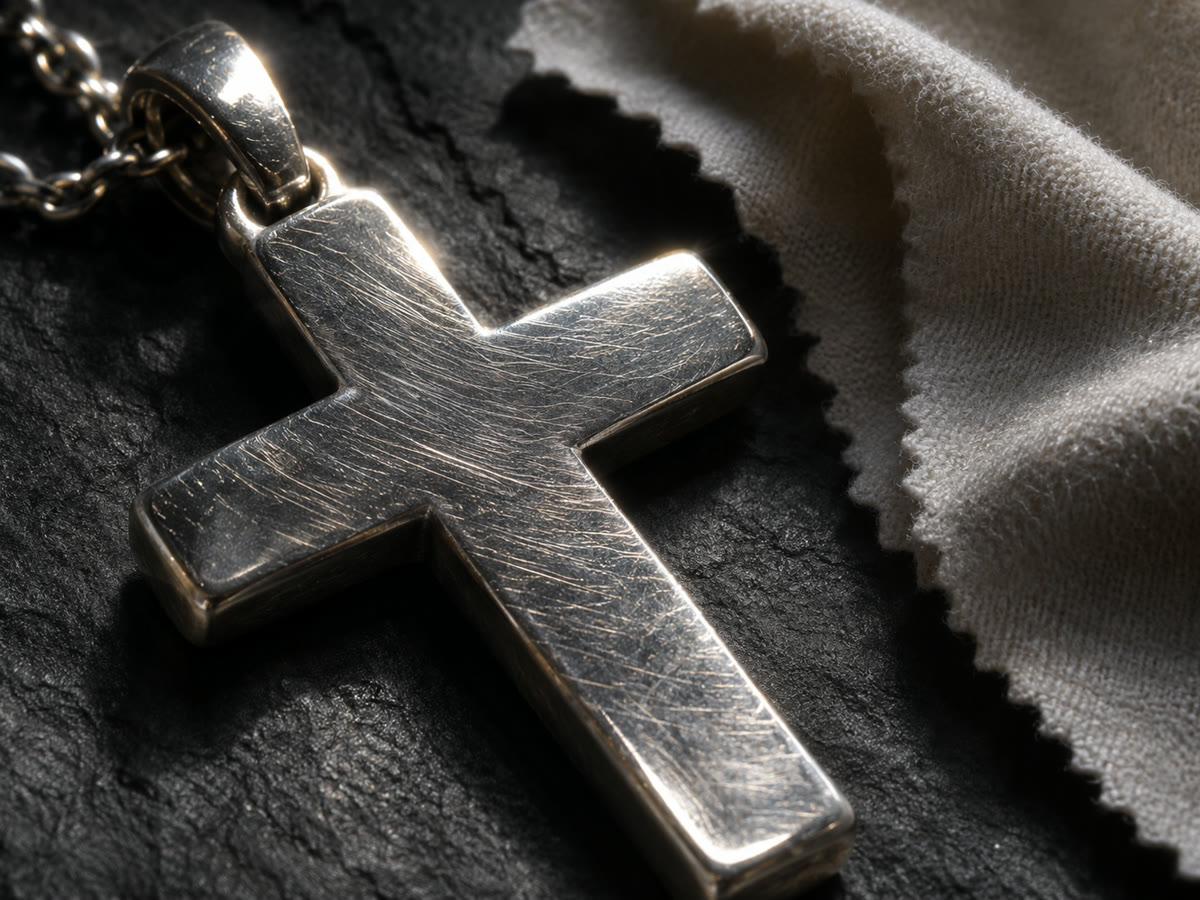
That haze is not dirt and it is not tarnish. It is a few hundred microscopic scratches that scatter light instead of reflecting it, and every silver piece you own will collect them. The good news: most of it is reversible at the kitchen table in about five minutes, provided you use the right tool and stop at the right moment. If you are starting fresh, our sterling silver cross collection keeps a clean, polished surface that is easy to maintain from day one.
Here is what actually removes scratches from silver, what quietly makes them worse, and the point where a jeweler should take over.
Why Sterling Silver Scratches So Quickly
Silver sits at roughly 2.5 to 3 on the Mohs hardness scale, which puts it below glass, below steel, and well below the zipper on your jacket. Sterling is 92.5 percent silver and 7.5 percent copper, and that small copper addition only nudges the hardness up a little. Fine silver at 999 is softer still.
So the question is not whether your cross will pick up scratches, it is what has been touching it:
- Keys and coins in a bag or pocket, both harder than the metal they rub against.
- Seatbelts and zippers, especially with a cross that sits high on the chest.
- Gym equipment, dumbbells and kettlebells being the usual suspects.
- The chain itself, where the bail of the cross slides against the links every time you move.
- Sleeping and showering on textured fabric, which acts like a very slow abrasive pad.
- Cloths with grit on them, or a tissue that has been rolling around in your bag.
Each of those contacts shaves a microscopic amount of metal and leaves a groove. Individually the grooves are invisible. Together they turn a mirror finish into a satin finish, and a satin finish into something that reads as dull grey.
One useful thing to know: scratches live in the surface, not in the structure. Your cross is not weaker, thinner or less valuable because the top layer of atoms has been moved around. It just needs that surface leveled again.
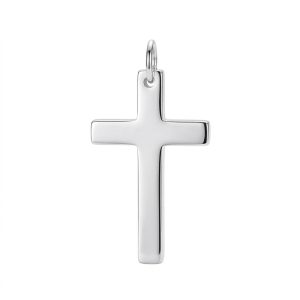
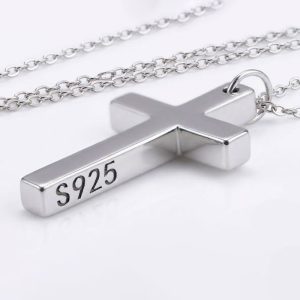
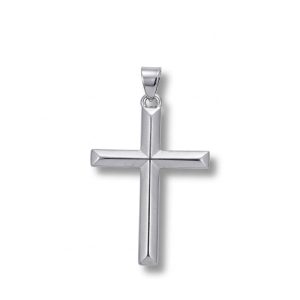
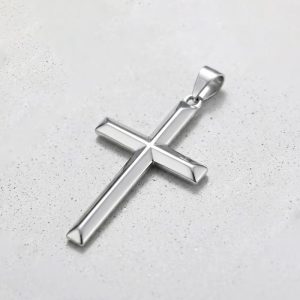
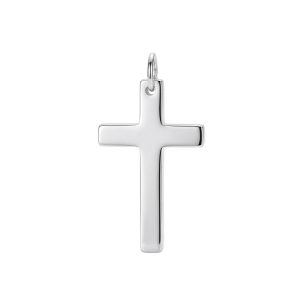
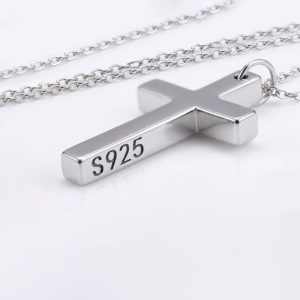
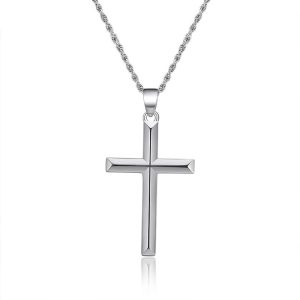
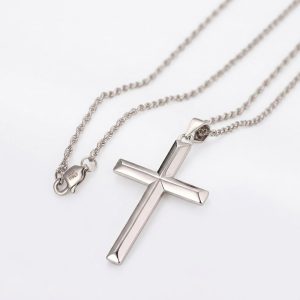
Clean, polished sterling crosses that are easy to keep bright:
Diagnose First: Scratches, Tarnish or Something Else?
Half the people who think their silver is scratched are looking at tarnish, and the fix for that is completely different. Two quick checks settle it.
The cloth test: is it tarnish?
Rub the dull area with a dry silver polishing cloth for ten seconds. If the cloth picks up grey or black residue and the metal brightens underneath, you were looking at silver sulfide, not scratches. Tarnish sits on the surface as a chemical layer, and it always looks worse in the recessed parts of an engraved design, inside letters, and around the edges of the cross.
Scratches behave the opposite way: they catch the light on flat, exposed surfaces, while the recessed details stay bright. If the marks follow the high points, you are dealing with abrasion.
The fingernail test: how deep is it?
Drag a fingernail gently across the line, at a right angle to it. If your nail glides over, it is a hairline scuff and polishing will handle it. If your nail catches and you can feel a groove, the scratch is deep enough that removing it means removing a visible amount of metal. That is a jeweler job.
Plated pieces change the rules
If your cross is 18k gold plated over sterling, the gold layer is measured in microns. Polishing paste will cut through it long before you have leveled the scratch, leaving a two-tone patch that cannot be fixed at home. Plated pieces get a dry cloth only, and if the plating is already worn at the edges, the answer is re-plating, not polishing.
The Two Tools That Actually Work
Silver polishing is simple physics: a very fine abrasive levels the metal around a scratch until the surface reflects light evenly again. The whole game is choosing an abrasive fine enough to level without carving.
A treated silver polishing cloth
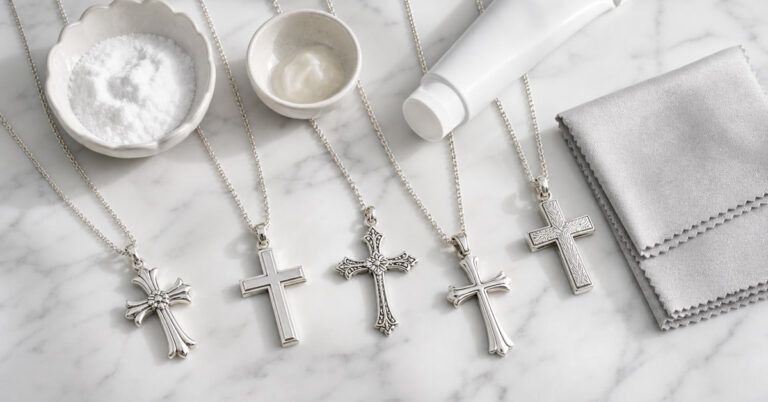
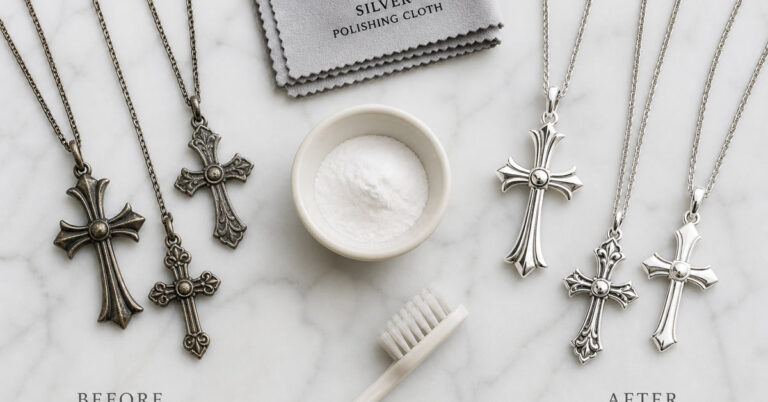
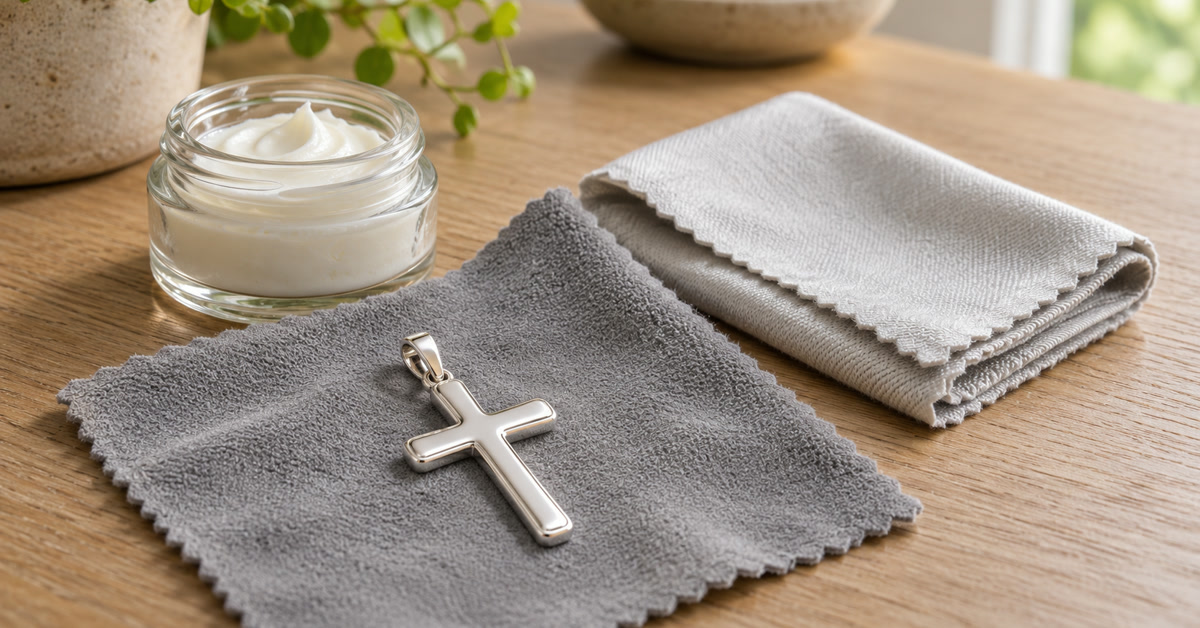
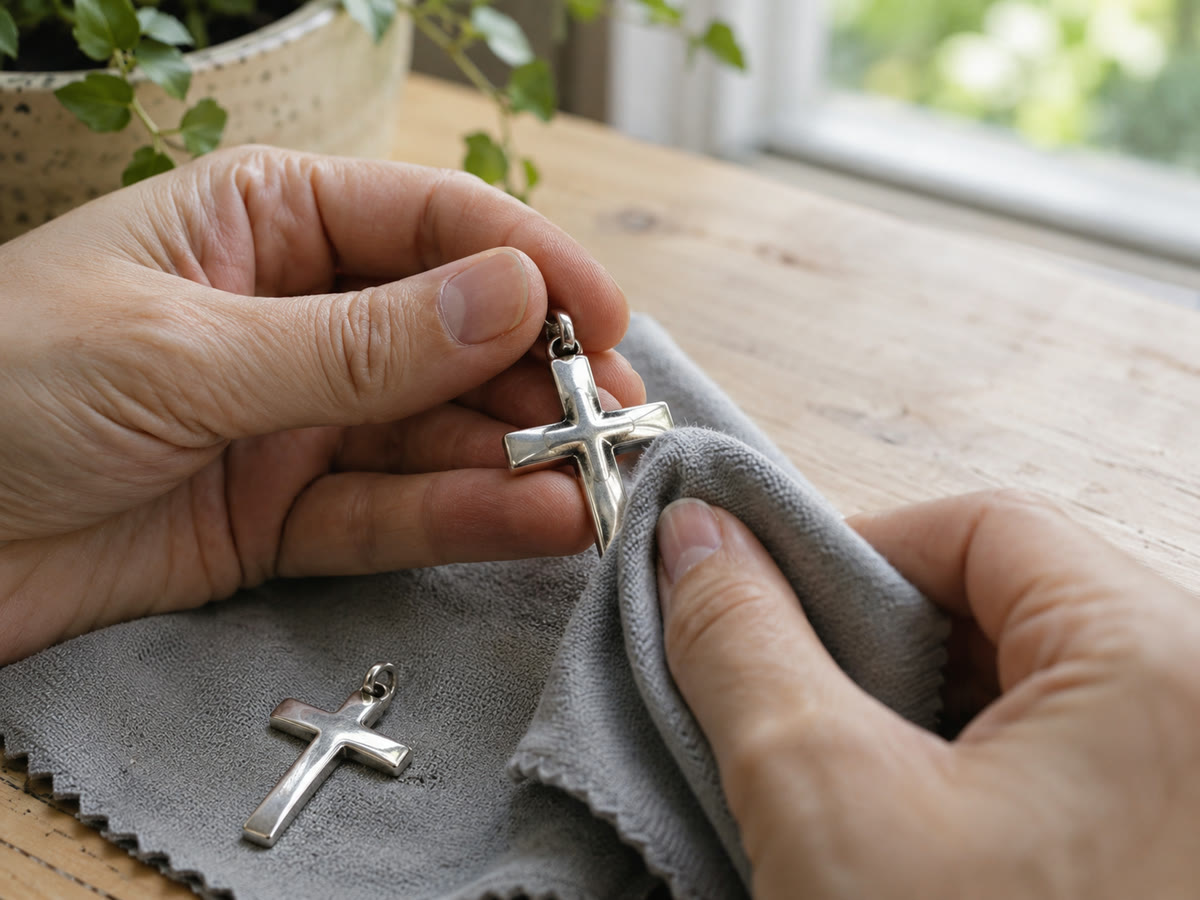
The grey or yellow cloth sold for silver is impregnated with a mild polishing agent, usually a fine rouge. It is the correct first step for hazy, lightly scuffed pieces and it is almost impossible to overdo. Use it dry, use a clean section each time, work in straight lines rather than circles, and never wash it. Once it goes through the laundry, the polishing compound is gone and you are left with a rag.
A low-abrasive polishing paste
For scuffs the cloth will not touch, a dedicated silver polish paste with aluminum oxide or diamantine will do the job. A pea-sized amount on a soft cotton pad, worked with light pressure along the direction of the scratch, then buffed off with a clean dry microfiber. Afterwards, wash the piece with a drop of mild dish soap and lukewarm water to remove every trace of compound, and dry it completely before it goes back in the box. Leftover paste traps dirt and speeds up the next round of dulling.
Detail matters more than pressure
Engraved designs, lettering like INRI, and beaded or rope edges are where abrasive paste does the most unintended damage: it softens crisp lines and blurs fine detail. Keep paste on the flat faces, use a cotton swab for the recesses, and let the cloth do the finishing.
What to Skip, Even Though the Internet Swears By It
- Toothpaste. The silica in toothpaste is abrasive enough to dull a polished finish, and repeated use turns a bright surface permanently hazy.
- Baking soda paste. Great in a foil and hot water bath for tarnish, wrong for scratches. As a paste it is abrasive, and scrubbing it into a soft metal leaves its own marks.
- Paper towels and tissues. Wood fibers are harder than silver. Drying a wet cross with a paper towel is one of the fastest ways to add fresh scratches.
- Silver dip. It dissolves tarnish chemically and does exactly nothing for a scratch. Repeated use also strips the surface in a way that makes future tarnish arrive faster.
- An ultrasonic cleaner. Excellent for dirt in crevices, useless for scratches, and risky on glued stones or pearl accents.
- Metal polish made for brass or chrome. Too aggressive for a piece you plan to wear for twenty years.
None of these will destroy a cross in one session. The problem is cumulative: each harsh pass takes a little more metal off the high points, and after a year of monthly toothpaste scrubs the design looks soft and the shine never fully returns.
Step by Step: Polishing a Scratched Cross at Home
Set aside ten minutes, work over a towel so nothing slides off the table, and go in this order.
- Wash first. Lukewarm water, one drop of mild dish soap, fingertips only. Grit left on the surface turns into sandpaper the moment you start polishing.
- Dry completely with a soft microfiber cloth. No paper, no heat, no hairdryer.
- Check what you are working on. Plated? Stones? Glue-set details? If yes to any of those, stay with the dry cloth and skip the paste.
- Start with the cloth. Sixty seconds of firm but light strokes in one direction, checking the shine against a lamp every so often.
- Move to paste only if needed. Tiny amount, cotton pad, small straight strokes, light pressure. Wipe the residue off and look again before adding more.
- Rinse and dry. Mild soap and water to remove the compound, then microfiber until there is no moisture left around the bail or inside the engraving.
- Buff with a clean, dry cloth for the final gloss. This last pass is what brings back the mirror effect, not more abrasive.
- Compare at an angle. Look at the cross with a lamp to the side of it, not behind it. Side light is what shows whether the surface is even.
If you get to step eight and the scratches are still visible, stop. Another round of paste will not change the result, it will only thin the metal.
When to Stop Polishing and Let a Jeweler Take Over
Every polish removes a thin layer of silver. That is the whole mechanism, and it is also the reason a cross can be polished too many times. The places that suffer first are the thin edges of the arms, the tip of the bail, and any fine engraving.
Hand it to a professional when:
- The scratch catches your fingernail and is visible from arm’s length.
- There is a dent, a bent arm or a flattened tip, which needs reshaping before any polishing.
- The plating has worn through to a different color underneath.
- A stone is loose, or the setting looks thin around the prongs.
- The clasp is failing. No amount of polish fixes a clasp that opens on its own.
A jeweler has a buffing wheel with graded compounds, which levels a surface far more evenly than a hand can, plus the option of laser welding a deep gouge and re-plating a worn finish. A light professional polish is usually a small flat fee and takes a day or two, and it is a much better outcome than a cross that has been sanded flat at home.
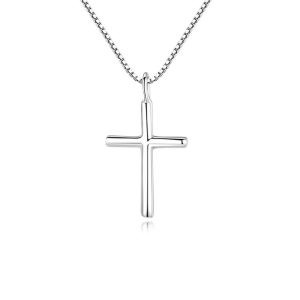
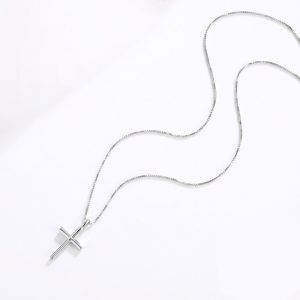
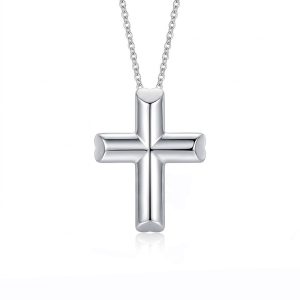
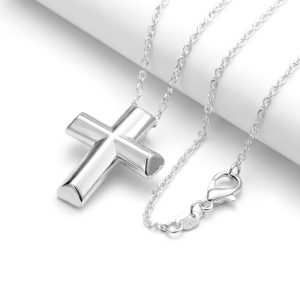
Flat, simple surfaces polish up fastest, and these four are built that way:


Keeping Scratches From Coming Back
You cannot make sterling silver scratch-proof, but you can decide how often it happens. Three habits do most of the work.
Store pieces apart, not in a pile
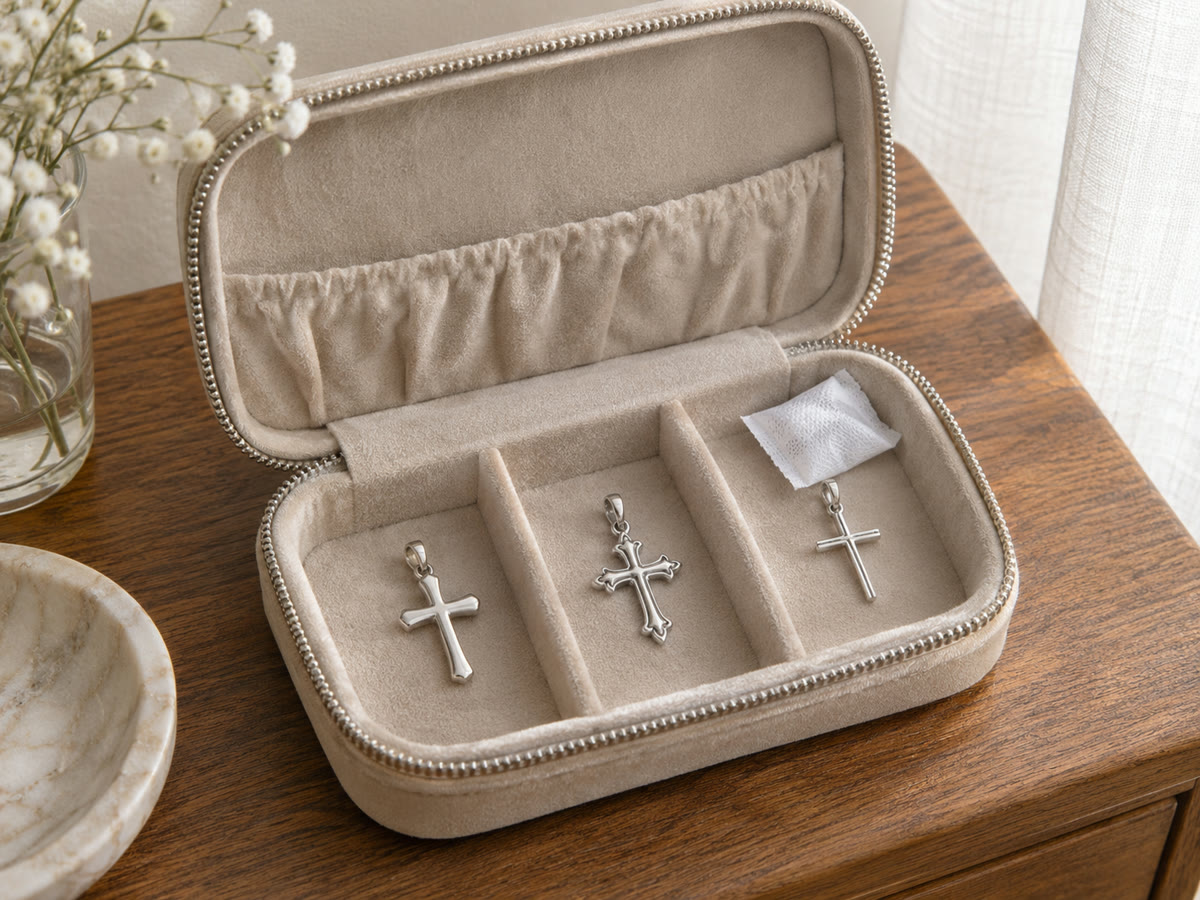
Two silver crosses in the same dish will scratch each other every time the dish moves. A soft pouch per piece, or a compartmented box with an anti-tarnish strip, removes most of the accidental abrasion of daily life. Keep the box out of the bathroom: steam and humidity accelerate tarnish, and the shelf is usually where pieces get knocked together.
Take it off for the rough parts of the day
Gym, gardening, moving furniture, sleeping. A cross worn under a shirt rubs against fabric and against the chain all day long, so the pieces that get the most wear are the ones worn around the clock. Rotating between two pieces cuts the wear on each of them in half.
Look at the chain, not just the cross
The bail sliding on the chain is the single most common source of scuffing at the top of a cross. A slightly larger bail, a smoother chain, or a small jump ring between them reduces that friction point. This is also why a cross on a stiff new chain often looks scratched after a month, while the same cross on a soft cord stays clean.
Beyond that, the routine is short: a dry cloth pass every couple of weeks, a wash after you have been sweating, and a proper polish only when the surface actually goes dull. If tarnish rather than scratches is your problem, that is a different process, and the cleaning guide linked below covers it.
Related Cross Guides
These guides go deeper on the symbols, the metals and the care routine that keep a silver cross looking like the day it arrived.
- 12 Types of Crosses in Christianity: History, Meaning & Jewelry Guide, the hub that covers every symbol in one place.
- How to Clean Silver Jewelry at Home Without Ruining It (5 Methods), for tarnish rather than scratches.
- How to Tell If Sterling Silver Is Real: 5 Tests, before you invest time polishing a mystery metal.
- Sterling Silver vs Stainless Steel: Pros, Cons & Prices, if you want a surface that resists scuffs better.
- Why Does Your Skin Turn Green? The Real Reason and the Fix, for the other thing people blame on their silver.