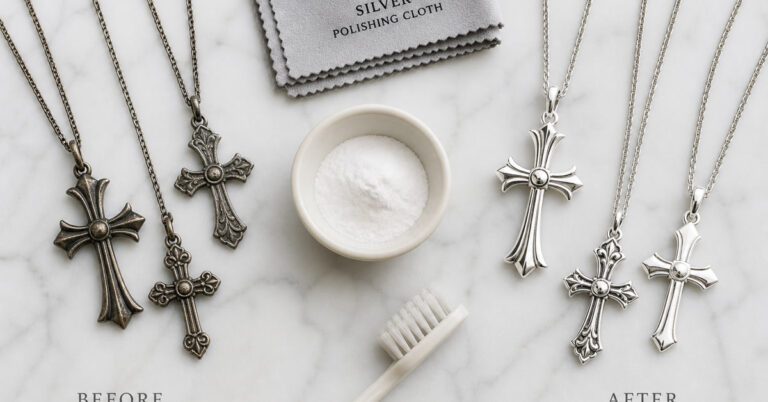
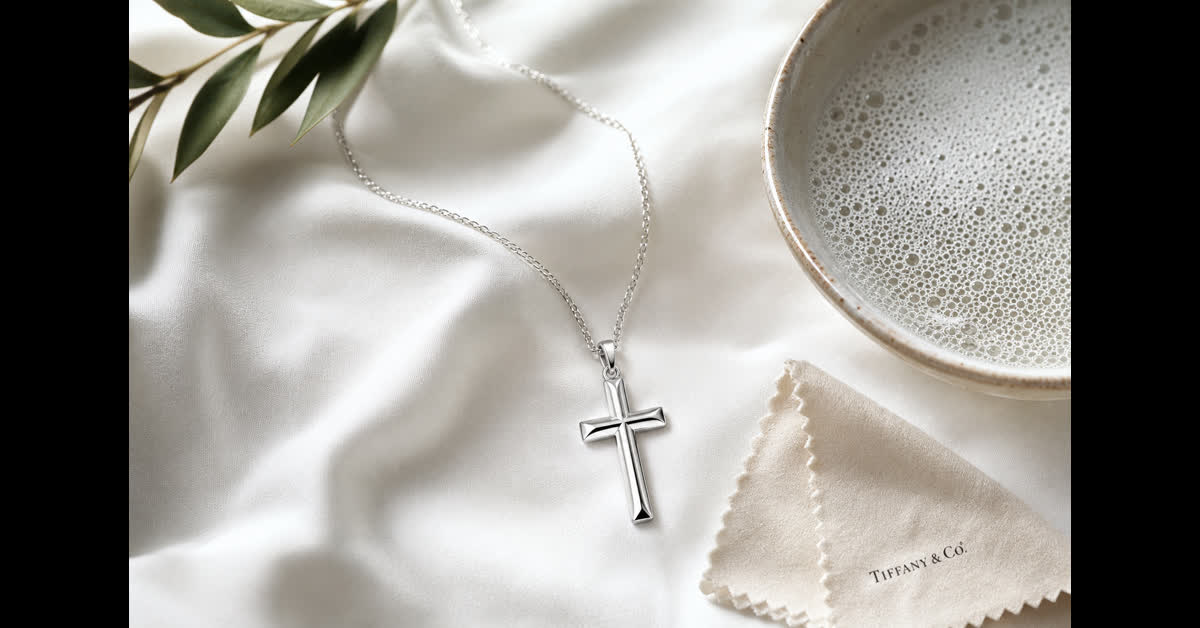
How to Clean Silver Jewelry at Home Without Ruining It (5 Methods)
TL;DR Silver jewelry tarnishes because of a chemical reaction between the metal and sulfur compounds in the air. You can restore its shine at home using five proven methods: warm soapy water for light cleaning, a baking soda paste for moderate tarnish, a dedicated silver polishing cloth for regular maintenance, a toothpaste technique for stubborn spots, and the aluminum foil electrochemical bath for heavy tarnish. Each method works differently, and using the wrong one on delicate pieces can scratch or damage them. This guide walks you through all five so you can pick the right approach for your specific piece.
Silver jewelry, and especially our silver cross necklaces, has a way of looking incredible when you first get it and then slowly losing its glow over weeks or months. That darkening you see is tarnish, and it happens to virtually every piece of sterling silver eventually. The good news? You do not need a jeweler or expensive equipment to bring it back. Below are five methods that actually work, ranging from gentle daily maintenance to heavy-duty restoration, so you can match the right technique to how bad the tarnish really is.
Why Silver Tarnishes in the First Place
Tarnish is not dirt. It is a thin layer of silver sulfide that forms when the surface of your silver reacts with sulfur-containing compounds in the air, in water, and even on your skin. Humidity accelerates it. Exposure to perfume, lotions, rubber bands, and certain foods (eggs are a big culprit) speeds it up too. The process is completely natural and does not mean your jewelry is low quality. Even .999 fine silver tarnishes over time.
What makes sterling silver (.925) slightly more prone to tarnish than pure silver is the 7.5% copper mixed in for durability. That copper is actually the element that gives sterling its strength, but it also makes the alloy more reactive. The methods below work on sterling silver, fine silver, and silver-plated pieces, though you will want to adjust your approach based on the type of jewelry and how severe the tarnish is.
Method 1: Warm Soapy Water (Best for Light Cleaning)
This is the simplest and safest method, and it should be your starting point for any silver piece you have not cleaned in a while. It will not remove heavy tarnish, but it eliminates surface oils, lotions, and the lightest layer of oxidation that makes silver look dull rather than dark.
What You Need
- A few drops of mild dish soap (the kind without moisturizers or additives)
- Lukewarm water (not hot, not cold)
- A soft-bristle toothbrush (baby toothbrushes work perfectly)
- A lint-free cloth for drying
How to Do It
Fill a small bowl with lukewarm water and add a few drops of dish soap. Submerge your silver piece and let it soak for five to ten minutes. Use the soft toothbrush to gently scrub any crevices, chain links, or engraved areas where dirt accumulates. Rinse under clean running water, then pat dry immediately with a lint-free cloth. Do not air dry. Water spots on silver look worse than the tarnish you just removed.
This method is safe for pieces with gemstones, opals, pearls, and delicate settings because it involves no abrasion. If your silver cross necklace or pendant has stones set into it, start here every time.
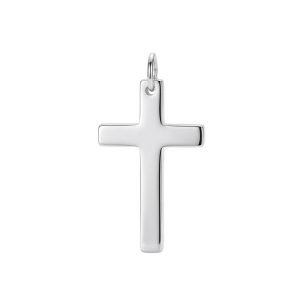
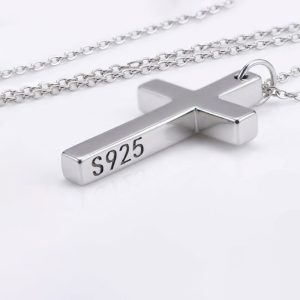
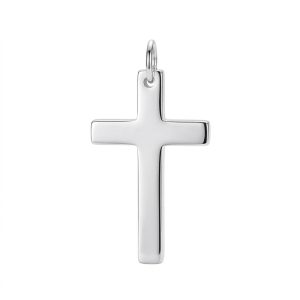
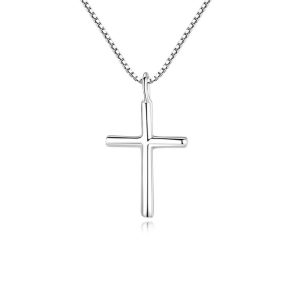
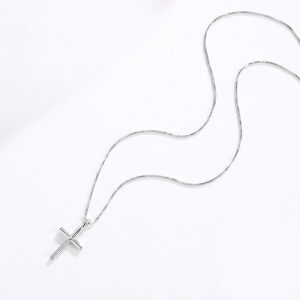
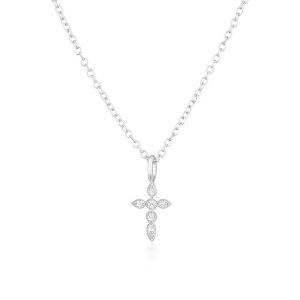
Our favorite sterling silver pieces that stay beautiful with simple care:


Method 2: Baking Soda Paste (Best for Moderate Tarnish)
When soapy water is not enough and you can see actual darkening or discoloration on the surface, a baking soda paste is the next step. Baking soda is mildly abrasive, which means it physically removes the tarnish layer without being harsh enough to scratch most sterling silver.
What You Need
- Three parts baking soda to one part water
- A soft cloth or cotton ball
- A small bowl for mixing
How to Do It
Mix the baking soda and water into a thick paste. Apply it directly to the tarnished areas using a soft cloth, rubbing gently in small circular motions. You will see the tarnish transfer from the silver to the cloth as a dark residue. Keep rubbing until the silver looks uniform. Rinse the piece thoroughly under running water and dry immediately.
A few important warnings: do not use this method on silver with matte or brushed finishes, as the abrasion can alter the texture. Avoid it on pieces with glued-in stones, since the paste can work its way under settings. And never mix baking soda with vinegar in an attempt to boost the effect. The fizzing reaction sounds impressive but produces inconsistent results and can leave residue in hard-to-reach areas.
Method 3: Silver Polishing Cloth (Best for Regular Maintenance)
A silver polishing cloth is the single best investment for anyone who wears silver regularly. These cloths are treated with a micro-abrasive compound that removes tarnish quickly without the mess of pastes or liquids. They are also the gentlest option after soapy water, making them ideal for routine touch-ups between deeper cleanings.
What You Need
- A treated silver polishing cloth (typically a two-layer or three-layer cloth)
- Nothing else
How to Do It
Take the polishing cloth and rub your silver piece gently with the treated side. The cloth will darken as it picks up tarnish. Flip to a clean section of the cloth and continue until the silver is uniformly bright. For pieces with intricate designs or chain links, use a corner of the cloth to get into the tighter spots. No rinsing needed.
The main downside is that polishing cloths wear out. After extended use, the treated sections lose their effectiveness and need to be replaced. A good cloth will handle dozens of pieces before that happens, though, and the convenience factor is hard to beat. Keep one in your jewelry box for quick weekly touch-ups and your silver will never get to the point of needing a deep clean.
Method 4: Toothpaste Technique (Best for Stubborn Spots)
Toothpaste is a surprisingly effective tarnish remover, and it is probably already sitting in your bathroom. The mild abrasives in standard white toothpaste (not gel) work similarly to baking soda but with a finer grit that can get into smaller details. This method is particularly good for targeted cleaning on specific spots rather than the entire piece.
What You Need
- Standard white toothpaste (avoid gel, whitening formulas with bleach, or anything with charcoal)
- A soft toothbrush
- Lukewarm water for rinsing
How to Do It
Squeeze a small amount of toothpaste onto the tarnished area. Use the soft toothbrush to work it in with gentle circular motions for about two minutes. Rinse thoroughly under lukewarm water. The key word here is thoroughly: toothpaste residue trapped in chain links or engraved text can dry white and look worse than the tarnish did.
This method works best on flat surfaces, pendant faces, and ring bands. For chain necklaces, you are better off with the soapy water or baking soda approach, since toothpaste can get lodged between links and become difficult to rinse out completely. And avoid this method entirely on silver with gemstones, as the abrasives can scratch softer stones like opals, pearls, or turquoise.
Method 5: Aluminum Foil Electrochemical Bath (Best for Heavy Tarnish)
This is the most dramatic method, and it genuinely works through chemistry rather than scrubbing. It uses an electrochemical reaction between aluminum and silver sulfide to reverse the tarnishing process. The aluminum pulls the sulfur atoms off the silver and bonds with them instead. The result is visibly brighter silver without any abrasion at all.
What You Need
- A glass or ceramic bowl (not metal)
- A sheet of aluminum foil
- One tablespoon of baking soda per cup of boiling water
- Boiling water
How to Do It
Line the bottom of the glass or ceramic bowl with aluminum foil, shiny side up. Place your silver piece directly on top of the foil so it makes contact. Sprinkle the baking soda over the piece and foil. Pour boiling water over everything until the silver is fully submerged. You will see bubbles and may notice a sulfur smell (that is the tarnish coming off). Let it sit for five to ten minutes, then remove the piece with tongs and rinse.
The critical detail here is that the silver must touch the aluminum. If they are not in contact, the electrochemical reaction does not happen. For a chain, lay it flat on the foil rather than letting it bunch up. For a pendant, press it down gently to ensure full contact. This method is safe for sterling silver and solid silver pieces but should not be used on silver-plated items, as the reaction can sometimes lift the plating.
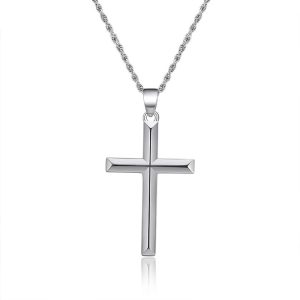
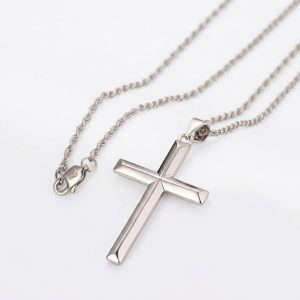
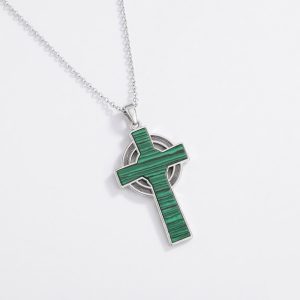
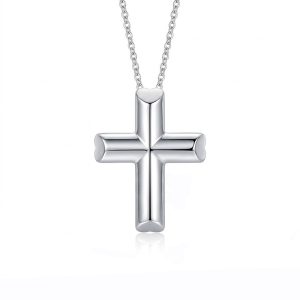
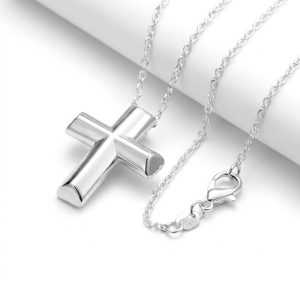
Sterling silver cross necklaces that deserve proper care:



What NOT to Do When Cleaning Silver
Knowing what to avoid is just as important as knowing the right methods. Here are the mistakes that cause real damage:
- Do not use silver dip solutions. They work by dissolving the tarnish chemically, but they also thin the silver over time and can leave a cloudy residue that is hard to remove. They also strip any protective coating on plated pieces.
- Do not use bleach or chlorine. Chlorine reacts with silver and can cause permanent discoloration and structural weakening. Keep silver away from swimming pools, hot tubs, and cleaning products containing bleach.
- Do not use steel wool or abrasive pads. Even fine steel wool scratches silver deeply. Once scratched, the only fix is professional polishing, which removes a little metal every time. Use only soft cloths and soft brushes.
- Do not clean silver-plated jewelry the same way as sterling silver. Plated pieces have a thin layer of silver over a base metal, and aggressive cleaning can wear through that layer quickly. Use only the gentlest methods on plated pieces.
How to Prevent Tarnish Before It Starts
Cleaning silver is satisfying, but preventing tarnish in the first place saves you time and keeps your pieces looking their best between cleanings. A few habits make a significant difference:
Store silver properly. Keep pieces in individual anti-tarnish bags or a sealed container with a silica gel packet. Air exposure is the number one cause of tarnish, so minimizing it makes a huge difference. Do not store silver in the bathroom, where humidity fluctuates constantly.
Put jewelry on last. Apply perfume, lotion, hairspray, and sunscreen before putting on your silver. These products contain chemicals that accelerate tarnishing and can leave films that are difficult to remove without proper cleaning.
Wear it regularly. This sounds counterintuitive, but the natural oils in your skin actually help slow tarnish. Silver that is worn frequently and occasionally wiped with a soft cloth stays brighter than silver that sits in a box. The friction of wearing keeps the surface polished at a microscopic level.