

How to Clean Sterling Silver Jewelry: Baking Soda, Toothpaste, or Professional Cleaner?
TL;DR – Baking soda paste is the cheapest and most accessible method, toothpaste works in a pinch but can scratch if you pick the wrong formula, and professional cleaners give the best results on heavily tarnished pieces. For everyday maintenance, a soft polishing cloth is all you need.
Your sterling silver cross necklace is one of those pieces you reach for every day. It goes everywhere with you, and over time, that constant contact with skin, air, and moisture leaves its mark. Tarnish builds up, the shine fades, and suddenly your favorite piece looks dull and neglected. The good news? Cleaning sterling silver at home is straightforward, and you probably already have most of what you need in your kitchen. This guide walks you through three proven methods, compares their strengths and weaknesses, and helps you pick the right one for your specific situation.
Why Sterling Silver Tarnishes in the First Place
Before diving into cleaning methods, it helps to understand what you’re actually fighting. Sterling silver is 92.5% pure silver mixed with 7.5% other metals, usually copper. That copper is what gives sterling silver its strength, but it’s also the culprit behind tarnish. When copper reacts with sulfur compounds in the air, moisture, or even the oils on your skin, it forms a dark layer of copper sulfide on the surface. That’s the darkening you see.
The speed of tarnishing depends on several factors: humidity, exposure to perfumes or lotions, how often you wear the piece, and even the pH of your skin. Some people find their silver jewelry tarnishes within weeks, while others go months before noticing a change. Neither is abnormal. The key is knowing how to clean it properly without damaging the metal underneath.
What Tarnish Is Not
Tarnish is a surface reaction, not a sign that your silver is “ruined” or deteriorating. It’s purely cosmetic. A tarnished sterling silver cross is still 925 silver underneath. This is different from corrosion, which actually damages the metal structure. Understanding this distinction matters because it means you can clean your jewelry aggressively enough to remove tarnish without worrying about weakening the piece, as long as you follow the right methods.
Method 1: Baking Soda Paste (The Kitchen Staple)
Baking soda is the most popular home remedy for cleaning silver, and for good reason. It’s inexpensive, non-toxic, and readily available in virtually every household. The mild abrasive quality of baking soda helps lift tarnish without scratching the silver surface when used correctly.
What You Need
- 3 tablespoons of baking soda
- 1 tablespoon of water (or enough to form a paste)
- A soft-bristle toothbrush or cotton cloth
- A small bowl for mixing
- A soft polishing cloth for the final buff
Step-by-Step Process
Mix the baking soda and water in your bowl until you get a thick, spreadable paste. Think toothpaste consistency, not soup. If it’s too runny, add a bit more baking soda. Too thick? A few more drops of water.
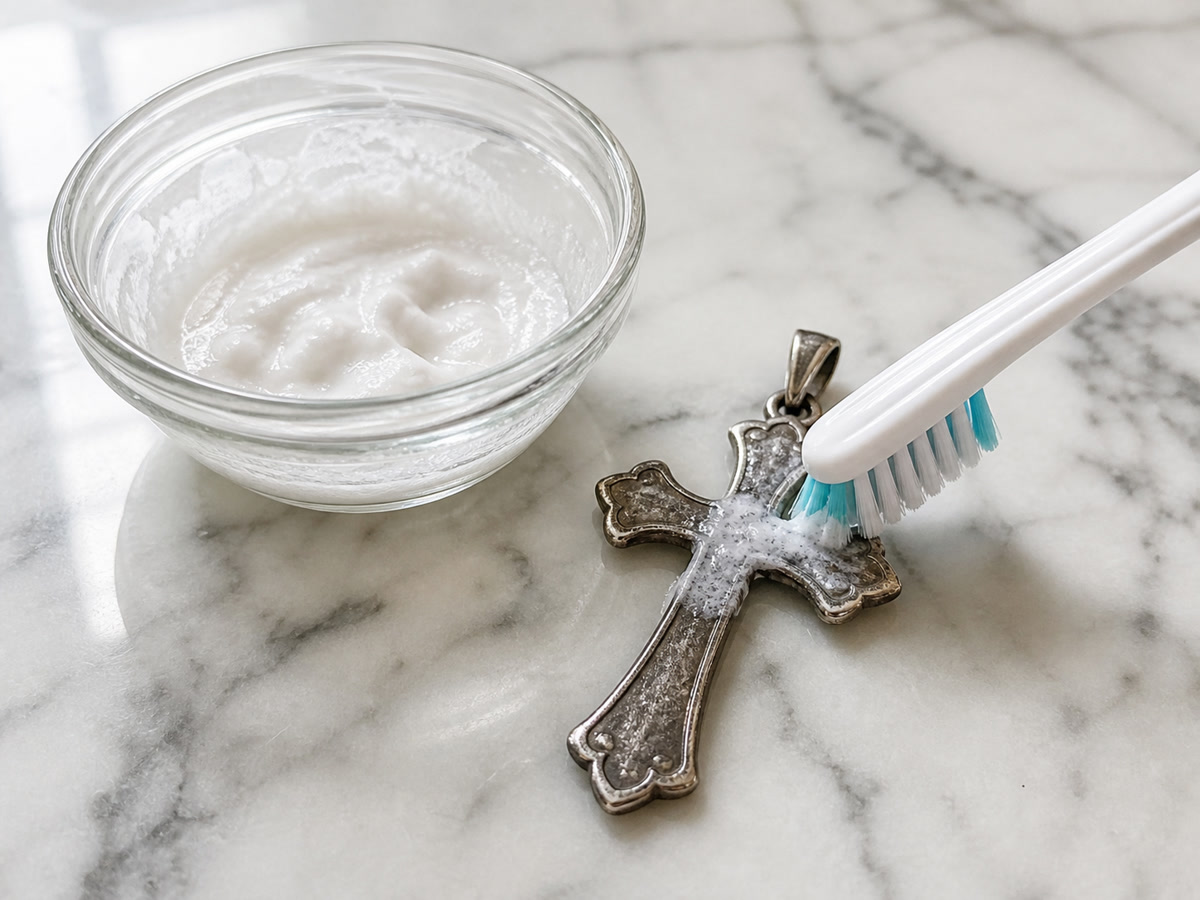
Apply the paste directly to your sterling silver cross necklace using your fingers or a soft cloth. Work it into every crevice, especially around chain links and any textured areas where tarnish tends to hide. For intricate designs, a soft-bristle toothbrush is your best friend. Use gentle, circular motions. Don’t scrub hard. The baking soda does the work through mild abrasion, not brute force.
Let the paste sit for two to three minutes on heavily tarnished areas. For light tarnish, you can skip the waiting and start wiping immediately. Rinse the piece thoroughly under lukewarm running water. Make sure all the baking soda residue is gone, especially from chain links and clasps where it can get trapped.
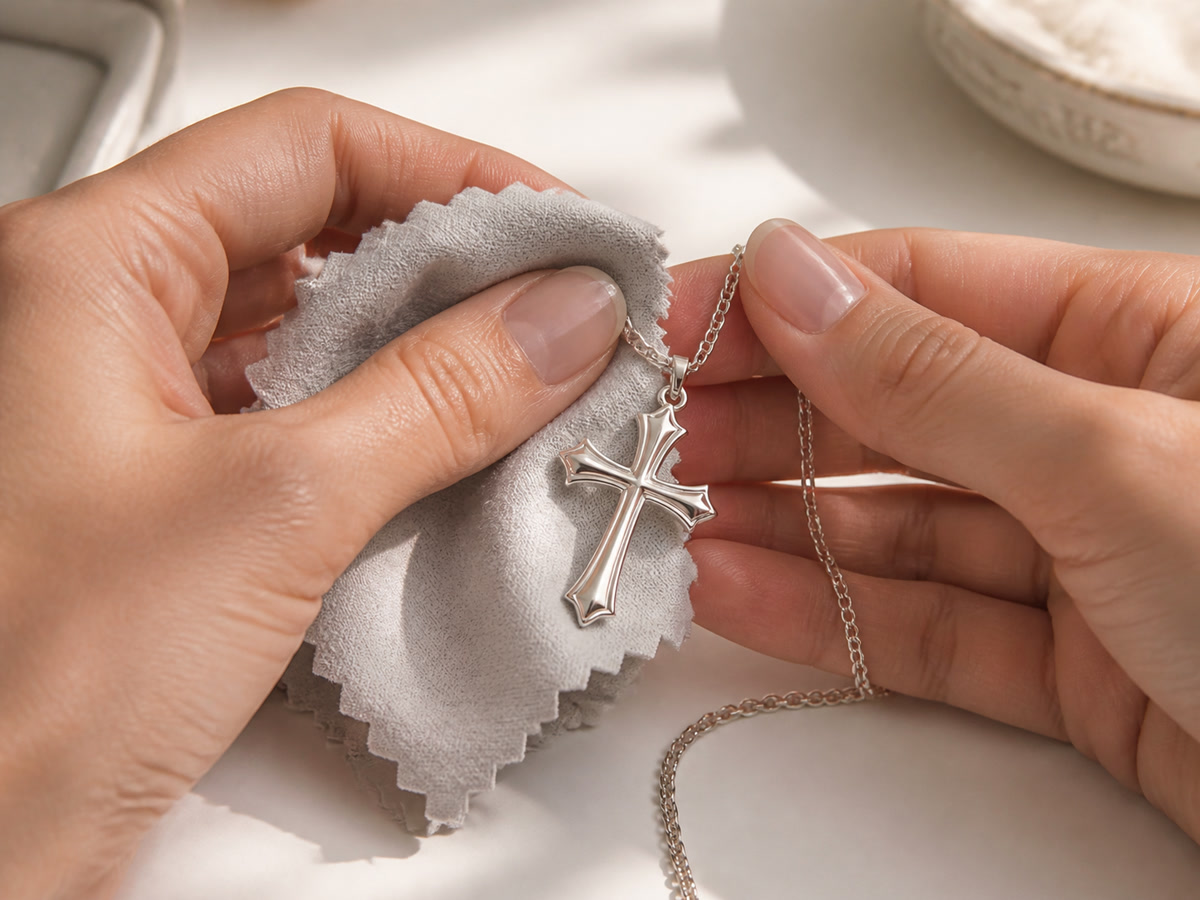
Dry the piece completely with a soft cloth, then give it a final buff with your polishing cloth to restore the shine. The result should be noticeably brighter silver with a warm, reflective glow.
Pros and Cons
Pros: Extremely cheap, all-natural, safe for most sterling silver, effective on light to moderate tarnish, ingredients are already in your pantry.
Cons: Can be messy, requires rinsing, not ideal for heavily tarnished pieces without repeated applications, the mild abrasive could theoretically scratch very soft silver over many years of heavy use.
Method 2: Toothpaste (The Quick Fix)
Toothpaste is the classic “I need this clean right now” solution. It’s been a silver cleaning hack for decades, and it does work. But there’s an important catch that most guides gloss over: not all toothpaste is created equal, and the wrong type can actually damage your sterling silver.
What You Need
- A non-gel, non-whitening, non-abrasive white toothpaste (basic fluoride toothpaste is ideal)
- A soft-bristle toothbrush
- A soft polishing cloth
Step-by-Step Process
Squeeze a small amount of toothpaste onto your soft-bristle toothbrush. A pea-sized amount is plenty for a cross pendant. Gently brush the sterling silver piece in circular motions, paying attention to areas with visible tarnish. The mild silica in standard toothpaste acts as a gentle polisher.
Work the toothpaste into the surface for about one to two minutes. You’ll notice the paste turning gray or dark as it lifts the tarnish. That’s a good sign, it means the method is working. Rinse the piece thoroughly under lukewarm water, making sure to remove all toothpaste from chain links and crevices. Dry with a soft cloth and buff to shine.
The Toothpaste Warning
This is where people get into trouble. Many modern toothpastes contain whitening agents, micro-beads, or extra-abrasive particles designed to scrub enamel. These can leave fine scratches on sterling silver. If you’re going to use toothpaste, stick to the most basic, white, non-gel formula you can find. Avoid anything labeled “whitening,” “advanced,” or “extra fresh.” The simpler, the better.
Pros: Quick and convenient, works on light tarnish, easy to find, no special equipment needed.
Cons: Risk of scratching with the wrong toothpaste, not effective on heavy tarnish, can leave residue in chain links, limited shelf life as a cleaning method.
Method 3: Professional Silver Cleaner (The Serious Option)
When baking soda and toothpaste aren’t cutting it, professional silver cleaners are the next step. These products are specifically formulated to dissolve tarnish chemically rather than abrading it away, which means they can restore even badly tarnished sterling silver to its original brilliance.
Types of Professional Cleaners
Dip cleaners: You submerge the piece in a chemical solution for a specified time, then rinse. They’re fast and effective on uniform tarnish, but they can’t target specific areas, and the chemicals can be harsh on some finishes.
Polishing creams and liquids: You apply these with a cloth, work them into the surface, and wipe away. They offer more control than dips and are better for pieces with mixed finishes or gemstone accents.
Ultrasonic cleaners: These use sound waves in a cleaning solution to vibrate tarnish loose. They’re excellent for pieces with intricate details or chain links where tarnish hides, but they require an initial investment in the device.
Recommended Brands and What to Look For
Look for products specifically labeled for sterling silver. Brands like Hagerty, Wright’s, and Goddard’s have been trusted for decades. Avoid generic “jewelry cleaners” that may be designed for gold or costume jewelry, as they can contain ammonia or other chemicals that damage silver. If your piece has gemstones, check whether the cleaner is safe for those stones before using it.
Pros: Most effective method for heavy tarnish, chemical cleaning reaches areas cloth cannot, professional-grade results, fast working time.
Cons: More expensive than home remedies, contains chemicals that require ventilation, over-use can thin the silver surface over years, not always safe for gemstone-set pieces.
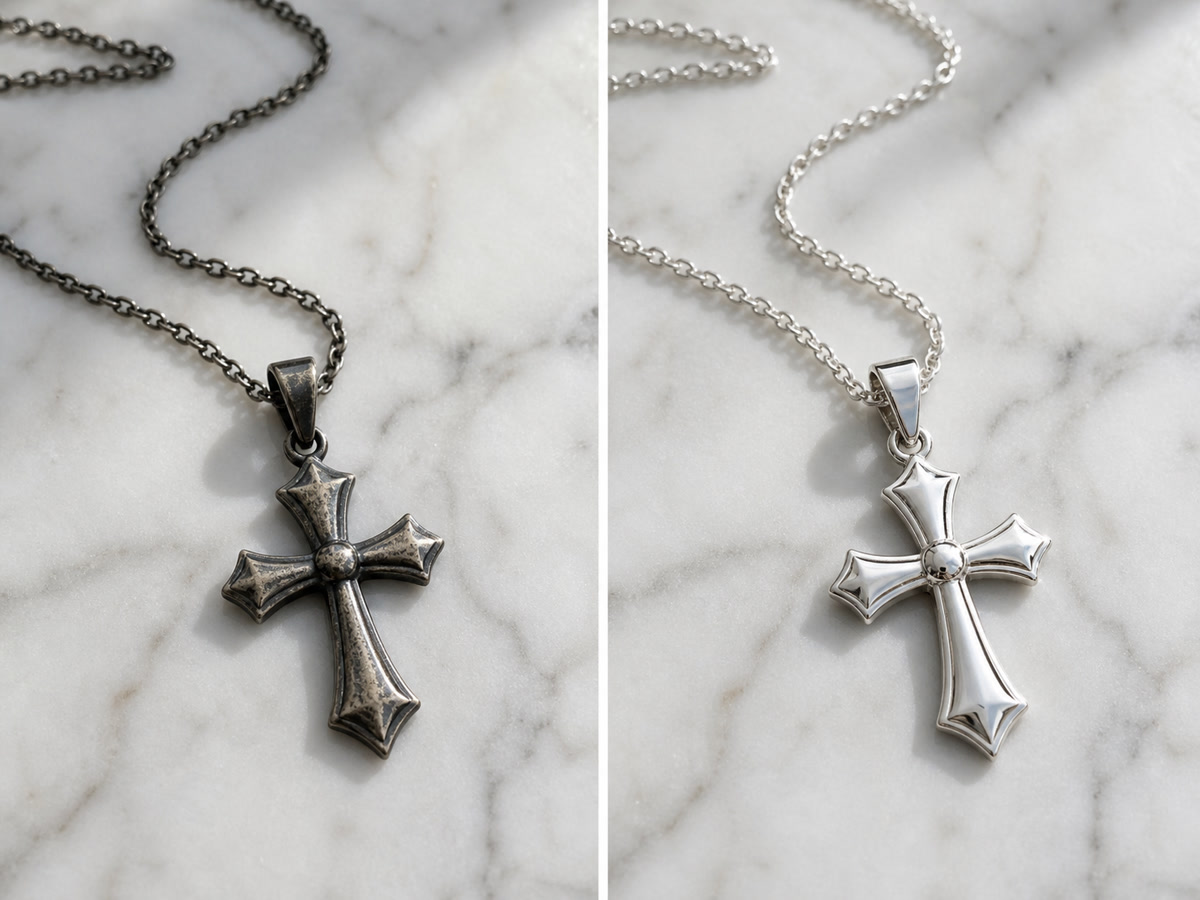
Side-by-Side Comparison: Which Method Wins?
Each method has its place. Here’s how they stack up against each other for common situations:
For light tarnish and regular maintenance: Baking soda paste or a simple polishing cloth. No need for chemicals when the tarnish is fresh and minimal.
For moderate tarnish with limited time: Basic white toothpaste gets the job done quickly. Just be sure to use the right formula and rinse thoroughly.
For heavy tarnish or neglected pieces: Professional silver cleaner. When the tarnish is deep and dark, home remedies will require too many repeated applications. A dip or polishing cream designed for sterling silver will save you time and frustration.
For everyday upkeep between cleanings: A dry polishing cloth stored with your jewelry. Wiping your cross necklace with a polishing cloth once a week prevents tarnish from building up in the first place.
Prevention: Keep Your Sterling Silver Cleaner for Longer
The best cleaning is the cleaning you don’t have to do. A few habits go a long way toward keeping your sterling silver cross necklace looking bright between deep cleans.
Storage Matters
Store your silver in an airtight bag or anti-tarnish pouch when you’re not wearing it. Air is the main driver of tarnish, so limiting exposure slows the process dramatically. Many jewelry retailers sell small anti-tarnish strips or tabs that you can toss into your jewelry box. They absorb sulfur compounds from the air before they reach your silver.
Last On, First Off
Put your silver jewelry on after applying perfumes, lotions, and hairspray. These products contain chemicals that accelerate tarnishing. Take your jewelry off before showering, swimming, or exercising. Chlorine and sweat are both enemies of sterling silver.
Regular Wipe-Downs
Keep a soft polishing cloth in your jewelry box and give your cross necklace a quick wipe after each wear. It takes thirty seconds and removes the oils and moisture that start the tarnishing process. This single habit can extend the time between deep cleans from weeks to months.
Sterling Silver Jewelry Worth Keeping Clean
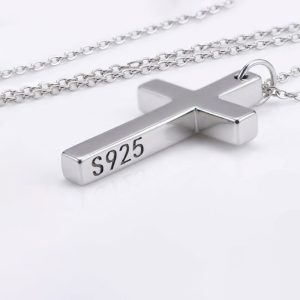
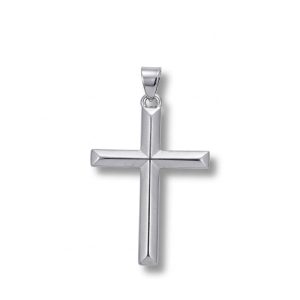
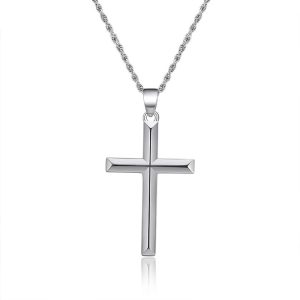
A well-maintained sterling silver piece retains its beauty for decades. Here are a few of our favorites that are worth the care routine:




Related Cross Guides
Want to learn more about cross jewelry care, history, and choosing the right piece? Explore these guides:
- 12 Types of Crosses in Christianity: History, Meaning & Jewelry Guide
- Crucifix vs Cross: What’s the Difference and Which One Is Right for You?
- Gold vs Silver Cross Necklace: Which One Should You Pick?
- Sterling Silver vs Stainless Steel Cross Jewelry: Pros, Cons & Prices
- How to Clean Silver Jewelry at Home Without Ruining It (5 Methods)
- Cross Necklace Care 101: Keep Your Cross Looking New for Years